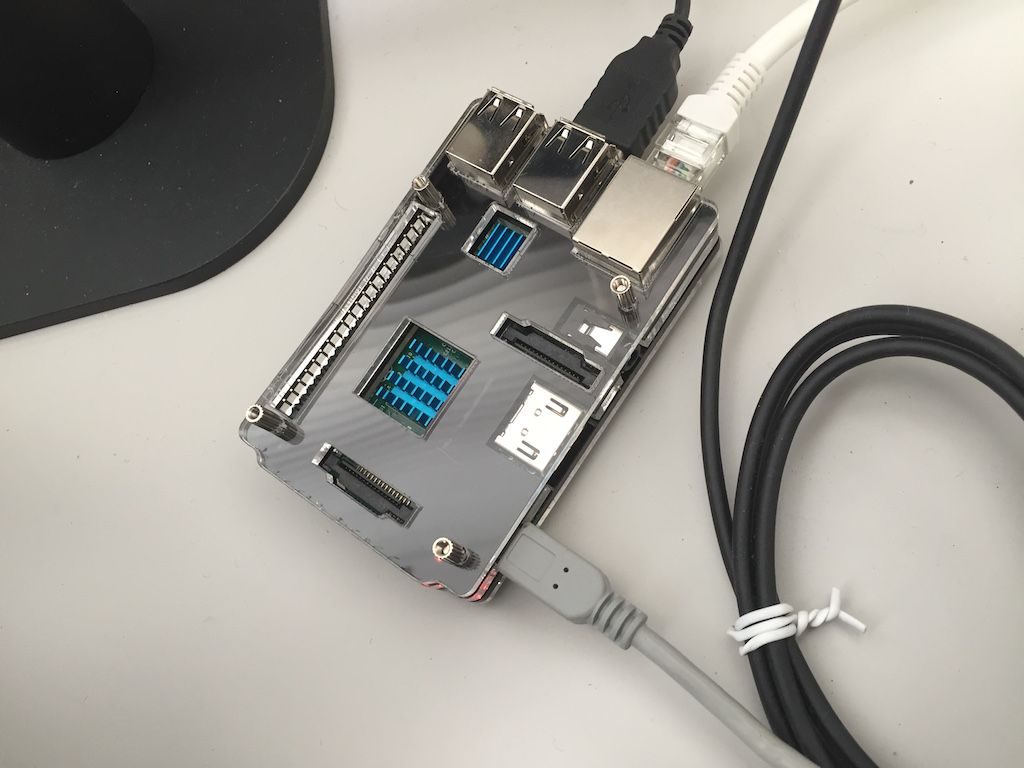
EPSON NP11 を USB デバイスサーバーとして利用していたのですが,HDD が逝ってしまったようで止まってしまいました.一部仕事で使ってましたので,仕方ない,silex のものでも買うかと思いましたが結構高い.と言うことで,前から使ってみたかった Raspberry pi で組んでみました.
購入したモデルは Raspberry pi3 model B です.
インストール まず,手持ちの 32G の SD カードにイメージを焼きます.素直に RASPBIAN JESSIE LITE を選びました.
上記からダウンロードして,以下のツールで書き込みます.
Win32 Disk Imager
Download Win32 Disk Imager for free. A Windows tool for writing images to USB sticks or SD/CF cards . This program is de...
出来上がった SD カードを Raspberry pi 3 に刺して電気を入れれば起動してきます.簡単ですねぇ….
初期設定 まずは初期設定です.rasp-config で行います.ユーザー名 pi,パスワード raspberry でログインして,
$ sudo raspi-config
で起動します.2. パスワードを変更してから,5. Internationalization Options を選択します.変更内容は以下の通り.
Locale: ja_JP.UTF-8
Timezone: Asia/Tokyo
Keyboard Layout: Generic 105-key (Intl) PC/Japanese – Japanese (OADG 109A)/The default for the keyboard layout/No compose key
Wi-fi Country: JP Japan
ここまで設定したらリブートします.
固定IPの割り当て 固定IP&有線で運用するため,以下の通り設定します.
$ sudo vi /etc/dhcpcd. conf
static ip_address= 192.168 .***.***/ 24
static routers= 192.168 .***.***
static domain_name_servers= 192.168 .***.***
$ sudo hostnamectl set-hostname rbp3
$ sudo vi /etc/avahi/avahi-daemon. conf
$ sudo vi /etc/dhcpcd.conf
....
interface eth0
static ip_address=192.168.***.***/24
static routers=192.168.***.***
static domain_name_servers=192.168.***.***

$ sudo hostnamectl set-hostname rbp3
$ sudo vi /etc/hosts
....
127.0.1.1       rbp3

$ sudo vi /etc/avahi/avahi-daemon.conf
host-name=rbp3
domain-name=****.local
....
$ sudo vi /etc/dhcpcd.conf
....
interface eth0
static ip_address=192.168.***.***/24
static routers=192.168.***.***
static domain_name_servers=192.168.***.***
$ sudo hostnamectl set-hostname rbp3
$ sudo vi /etc/hosts
....
127.0.1.1 rbp3
$ sudo vi /etc/avahi/avahi-daemon.conf
host-name=rbp3
domain-name=****.local
....
ついでに hostname を設定しました.再起動して,以後は ssh 経由で設定していくことにします.
アップデート 再起動後,以下の通り,最新の環境にアップデートします.
$ sudo apt-get -y upgrade
$ sudo apt-get install rpi-update
$ sudo apt-get install ntpdate
$ sudo ntpdate -u ntp. ubuntu . com
$ sudo apt-get update
$ sudo apt-get -y upgrade
$ sudo reboot

$ sudo apt-get install rpi-update
$ sudo apt-get install ntpdate
$ sudo ntpdate -u ntp.ubuntu.com
$ sudo rpi-update
$ sudo reboot
$ sudo apt-get update
$ sudo apt-get -y upgrade
$ sudo reboot
$ sudo apt-get install rpi-update
$ sudo apt-get install ntpdate
$ sudo ntpdate -u ntp.ubuntu.com
$ sudo rpi-update
$ sudo reboot
RASPBIAN JESSIE LITE には何故か rpi-update が入っていませんでした.また,
GitHub - Hexxeh/rpi-update: An easier way to update the firmware of your Raspberry Pi
An easier way to update the firmware of your Raspberry Pi - Hexxeh/rpi-update
を参考に,ntpdate を入れ念のために時間を合わせています.
USB device server の設定 USB device server を実現するソフトウェアは色々あるようですが,今回は VirtualHere を使います.
Raspberry pi に対応しており,1デバイスであれば無料で時間制限なく使うことができるのが理由です.
を参考に以下の通り設定しました.
$ sudo wget https: //virtualhere.com/sites/default/files/usbserver/vhusbdarmpi2
$ sudo chmod +x vhusbdarmpi2
$ sudo vi /etc/systemd/system/virtualhere. service
Description=VirtualHere USB Sharing
Requires=avahi-daemon. service
After=avahi-daemon. service
ExecStartPre=/bin/sh -c 'logger VirtualHere settling...;sleep 1s;logger VirtualHere settled'
ExecStart=/usr/local/sbin/vhusbdarmpi2 -i
WantedBy=multi-user. target
$ sudo systemctl daemon-reload
$ sudo systemctl enable virtualhere
$ sudo systemctl start virtualhere
$ cd /usr/local/sbin
$ sudo wget https://virtualhere.com/sites/default/files/usbserver/vhusbdarmpi2
$ sudo chmod +x vhusbdarmpi2
$ sudo vi /etc/systemd/system/virtualhere.service
[Unit]
Description=VirtualHere USB Sharing
Requires=avahi-daemon.service
After=avahi-daemon.service
[Service]
ExecStartPre=/bin/sh -c 'logger VirtualHere settling...;sleep 1s;logger VirtualHere settled'
ExecStart=/usr/local/sbin/vhusbdarmpi2 -i
Type=idle
[Install]
WantedBy=multi-user.target
$ sudo systemctl daemon-reload
$ sudo systemctl enable virtualhere
$ sudo systemctl start virtualhere
念のため,この時点で起動しているサービスを調べておきます.
$ sudo systemctl list-unit-files -t service | grep enabled
avahi-daemon. service enabled
bluetooth. service enabled
dbus-org. bluez . service enabled
dbus-org. freedesktop . Avahi . service enabled
fake-hwclock. service enabled
hwclock-save. service enabled
rpi-display-backlight. service enabled
virtualhere. service enabled
$ sudo systemctl list-unit-files -t service | grep enabled
avahi-daemon.service                   enabled
bluetooth.service                      enabled
cron.service                           enabled
dbus-org.bluez.service                 enabled
dbus-org.freedesktop.Avahi.service     enabled
dhcpcd.service                         enabled
fake-hwclock.service                   enabled
getty@.service                         enabled
hciuart.service                        enabled
hwclock-save.service                   enabled
rpi-display-backlight.service          enabled
rsyslog.service                        enabled
ssh.service                            enabled
sshd.service                           enabled
syslog.service                         enabled
virtualhere.service                    enabled
$ sudo systemctl list-unit-files -t service | grep enabled
avahi-daemon.service enabled
bluetooth.service enabled
cron.service enabled
dbus-org.bluez.service enabled
dbus-org.freedesktop.Avahi.service enabled
dhcpcd.service enabled
fake-hwclock.service enabled
getty@.service enabled
hciuart.service enabled
hwclock-save.service enabled
rpi-display-backlight.service enabled
rsyslog.service enabled
ssh.service enabled
sshd.service enabled
syslog.service enabled
virtualhere.service enabled
その他必要なプログラムを幾つか追加インストールします.
$ sudo apt-get install avahi-utils
$ sudo apt-get install dnsutils
$ sudo apt-get install avahi-utils
$ sudo apt-get install dnsutils
$ sudo apt-get install avahi-utils
$ sudo apt-get install dnsutils
これで一応使えるようになりました.
雑感 拍子抜けするほどあっさりと全てが動きますね.参考にできる情報が多いのも助かる部分です.また,思ったよりも遥かにパワフルです.
約6000円程度で低消費電力,かつ設定の自由度の高い無音の高性能なシステムが手に入るというのはとても有難いです.ただし,結構発熱するのと,SDカードが保存領域だということで,耐久性についてはあまり期待できないかも知れません.
ということで,ぼちぼちと使っていこうと思います.